MEP System Routing Becomes Critical in Complex Building Projects
There’s a point in almost every project where coordination starts to feel… tight.
Ceiling spaces get crowded. Structural elements compete for the same zones. Equipment layouts that looked clean in early design suddenly feel constrained. And this is where routing decisions, especially for MEP systems begin to carry real weight.
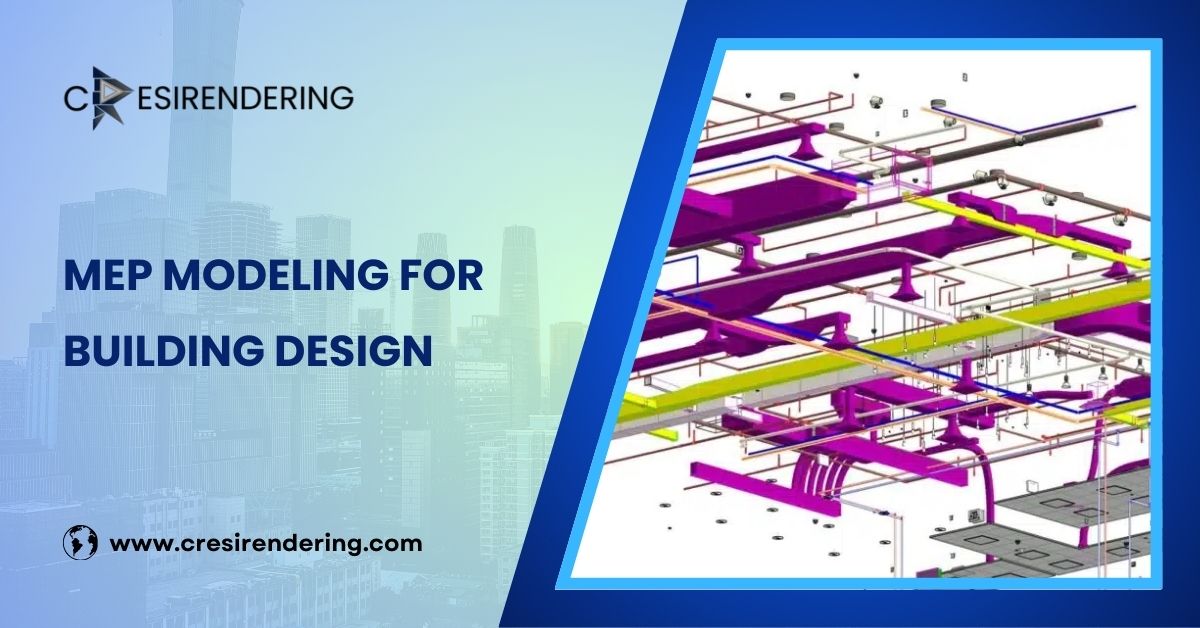
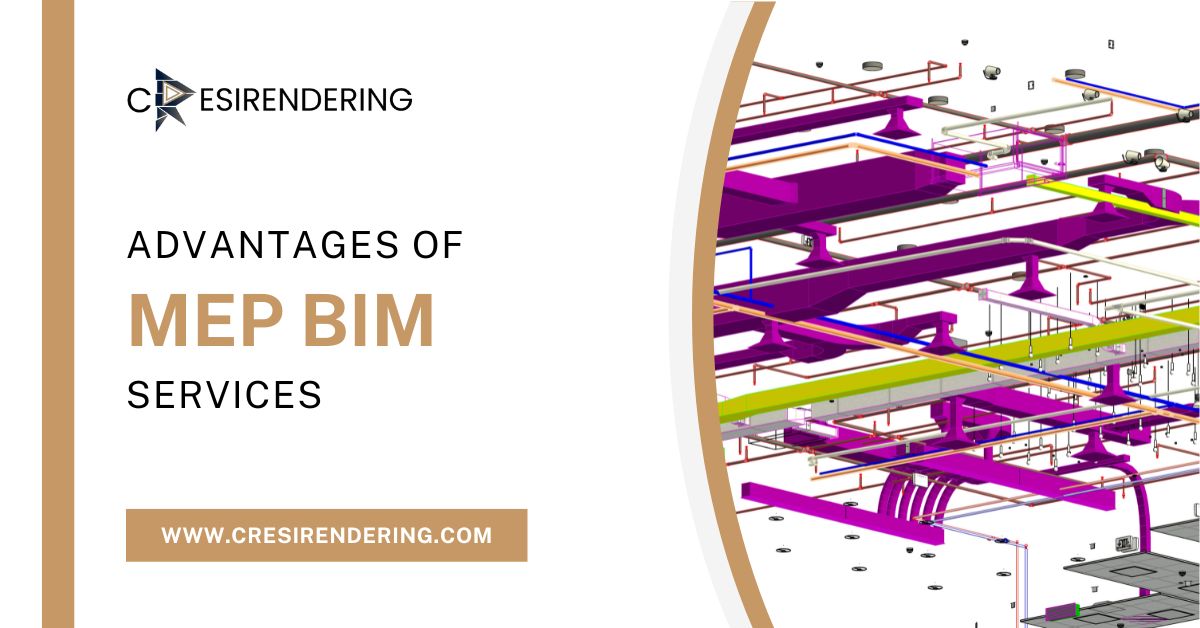
In practice, MEP BIM Modeling is less about drawing ducts and pipes and more about managing space, priorities, and constraints. When done well, it brings order to complexity. When handled casually, it tends to surface problems much later usually on site.

Why Routing Isn’t Just a Technical Task
At first glance, routing might seem straightforward: connect point A to point B.
But anyone who has worked inside Autodesk Revit knows it’s rarely that simple.
Each system HVAC, plumbing, electrical comes with its own requirements:
- Clearance zones
- Slope requirements (especially for drainage)
- Access for maintenance
- Coordination with structural and architectural elements
So routing becomes a balancing act. You’re not just placing services you’re negotiating space.
The Shift from Drafting to Intelligent Modeling
Earlier workflows relied heavily on 2D CAD drafting, where routing decisions were often made in isolation. Conflicts were either overlooked or discovered during construction.
With MEP BIM Modeling, routing is handled within a coordinated 3D environment. This changes how modelers think.
Instead of asking, “Does this layout work?”, the question becomes, “Does this layout work with everything else already in place?”
That shift might sound subtle, but it’s what enables more reliable project outcomes.
How BIM Modelers Approach Advanced Routing
Experienced modelers don’t begin by drawing. They begin by understanding the space.
1. Reading the Building Before Routing It
Before placing a single duct or pipe, modelers review:
- Structural framing depth
- Ceiling void availability
- Equipment locations
- Architectural constraints
This early evaluation helps define routing corridors. Without it, systems tend to compete for the same space later.
2. Prioritizing Systems (Because Everything Can’t Come First)
Not all services carry the same level of flexibility.
For example:
- Large HVAC ducts typically require priority due to size
- Gravity-based drainage systems must follow slope requirements
- Electrical conduits offer more flexibility and are often routed later
A structured hierarchy allows modelers to reduce clashes before they even occur.
3. Using Revit Tools with Intent
Tools within Revit like routing preferences, system classification, and clash detection are only as effective as the person using them.
In Revit MEP routing, experienced users:
- Define accurate system types and sizes early
- Use routing preferences to maintain consistency
- Avoid over-modeling where it doesn’t add value
There’s a tendency, especially among newer users, to rely too heavily on automatic routing. In reality, manual refinement often leads to better results.
Duct Routing in Revit: Managing Space and Airflow
Ductwork usually occupies the largest volume within ceiling spaces, which makes it one of the first systems to be routed.
In duct routing in Revit, modelers focus on:
- Maintaining efficient airflow paths
- Minimizing sharp turns and pressure losses
- Coordinating with structural beams and ceiling layouts
Rectangular ducts can be used in the tight ceiling zones, while circular ducts can be used where there is enough space to allow the free flow of air.
Making small changes in the position of the duct by even a few centimeters can create space for the inclusion of other services without compromising the efficiency of the system.
Pipe Routing in BIM: Precision Matters More Than It Seems
Unlike ducts, piping systems often involve slope and flow considerations.
In pipe routing BIM, modelers must account for:
- Gravity flow requirements for drainage systems
- Pipe sizing and pressure considerations
- Coordination with equipment connections
Slope coordination is particularly critical. Even minor miscalculations can lead to conflicts or performance issues later.
This is where modeling accuracy becomes essential not just for coordination, but for functionality.
Conduit Routing in Revit: Flexibility with Discipline
Electrical conduits are generally more adaptable compared to ducts and pipes. But that flexibility can sometimes lead to disorganized layouts if not managed carefully.
In conduit routing Revit, experienced modelers:
- Align conduits with structural grids where possible
- Group routing paths to maintain clarity
- Avoid unnecessary bends that complicate installation
Well-organized conduit layouts not only improve coordination but also make on-site installation more efficient.
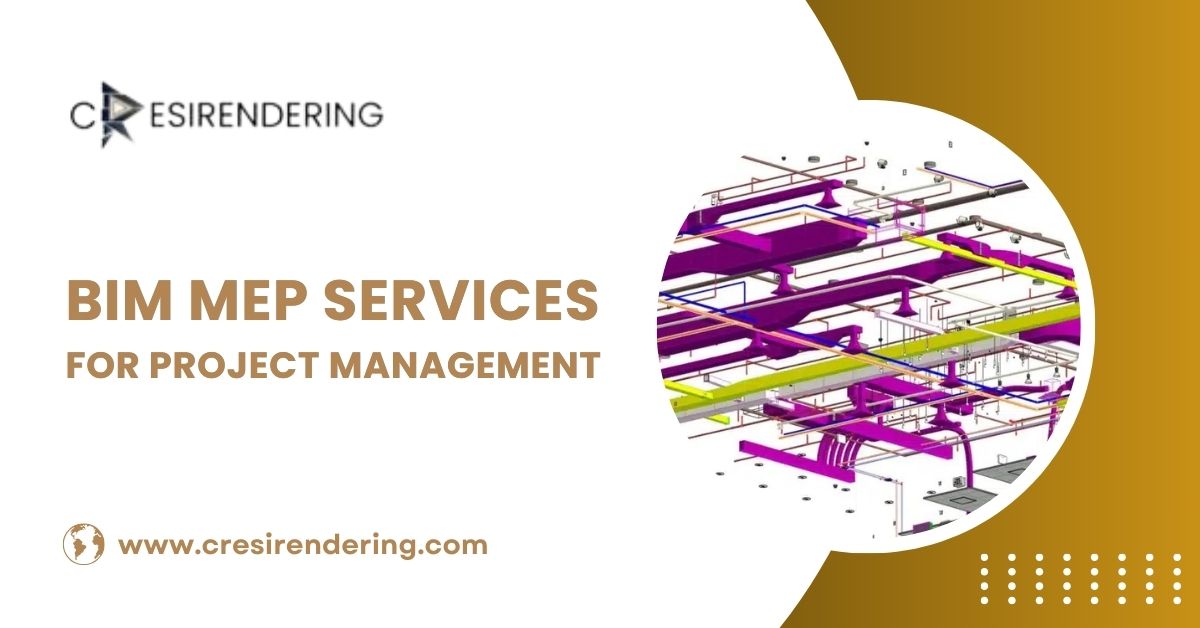
Coordination: Where Everything Comes Together
Coordination is where everything truly comes together in a successful MEP project. No matter how carefully individual ducts, pipes, and conduits are routed, the overall system must work as one coordinated model within the building environment.
This is where advanced MEP BIM Modeling delivers the greatest value.
Using clash detection tools in Autodesk Revit and coordination platforms such as Autodesk Navisworks, project teams can identify conflicts between architectural, structural, and MEP systems long before construction begins.
Detecting a duct passing through a beam or a pipe intersecting a cable tray in the design phase prevents costly changes and delays on site.
This coordinated approach is especially important when producing a 3D Floor Plan Rendering Service, where every system must appear accurately placed and visually aligned within the space.
A well-coordinated 3D floor plan not only improves design communication but also helps clients, contractors, and stakeholders clearly understand how all building systems interact before construction starts.
A Note on Experience (It Shows in the Model)
There’s a noticeable difference between a technically correct model and one that is practically useful.
Experienced BIM modelers consider:
- Installation feasibility
- Access for maintenance
- Sequencing of construction
These factors don’t always appear in design guidelines, but they play a significant role in how smoothly a project progresses.
The Larger Impact of Optimized Routing
When MEP Coordination is handled with care, the benefits extend beyond coordination:
- Reduced on-site conflicts
- Improved installation efficiency
- Better system performance
- Fewer project delays
It creates a workflow where decisions are made earlier, when they are easier and less costly to implement.
Closing Perspective
Advanced routing in Revit isn’t just about being proficient in the software. It’s about understanding how buildings are assembled, and how different systems share space, interact, and sometimes compete for limited room.
MEP BIM Modeling provides the foundation, but the real value comes from how that information is applied during design and coordination. Accurate routing of ducts, pipes, and conduits helps reduce clashes, improve constructability, and create a smoother workflow from design through installation.
In many retrofit and renovation projects, teams also rely on PDF to CAD conversion to transform legacy drawings into editable CAD files before they begin MEP planning. This creates a reliable starting point for Revit-based coordination and ensures that routing decisions are based on accurate existing conditions rather than outdated documents.
When advanced routing is approached thoughtfully, with attention to both detail and context, projects move forward with fewer delays and less rework. And in an environment where coordination challenges are almost inevitable, that level of control can make all the difference.